Configuring Dynamics AX 2009
To set up Dynamics AX 2009:
-
Navigate to
and create two journals if they do not exist already:
- One named APInvReg with the Journal type set to Invoice register.
- One named
APInvApp with the Journal type set to Approval.

-
Navigate to
, and select
APInvReg (Invoice Register journal) as the Journal name.
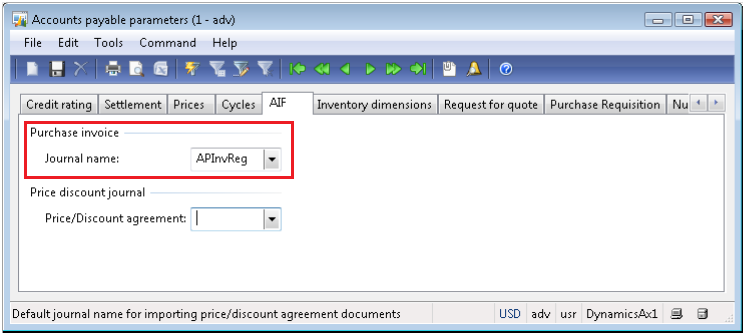
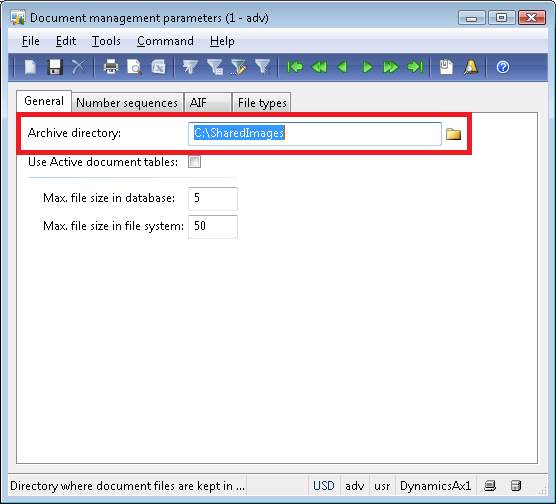
- Use the Archive directory setting to specify the folder where you want to store invoice images ().
-
If
Use Active document tables is enabled in Dynamics AX (Document management
parameters), make sure that the correct tables are specified in the
Active document tables list ().
Reference table ID Table name 177 Inventory transactions 212 Journal lines 225 Ledger transactions 482 Audit trail 491 Vendor invoice journal 506 Vendor transactions 553 Inventory transaction posting 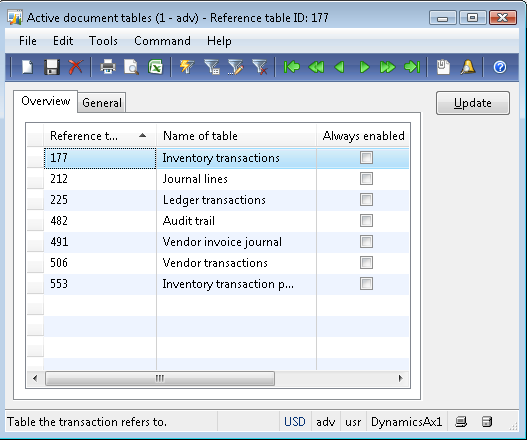
- Create a folder for the web service (example: C:\RsoIntegrationService) with a subfolder named bin (example: C:\RsoIntegrationService\bin).
-
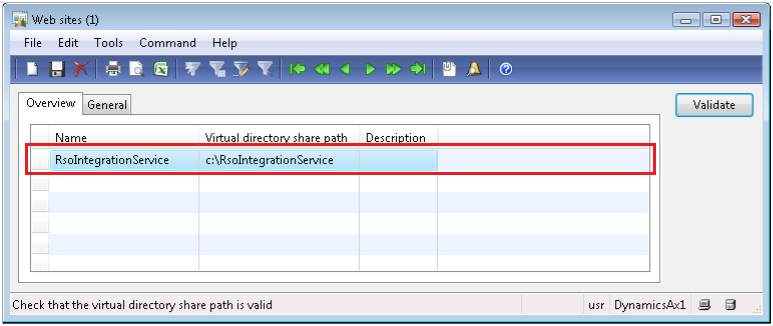
Create a new web site named RsoIntegrationService () and specify the folder created in the previous step as the Virtual directory share path.
-
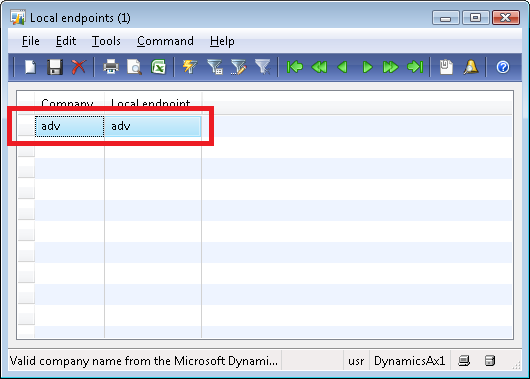
Set up local endpoints and specify each company you want to use (). We recommend using the same names for companies and local endpoints.
-
Click the
Project button.

-
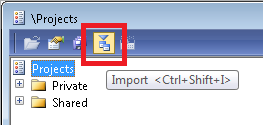
Click the
Import button.
-
Click
Browse and navigate to your
ReadSoft Online Connect
ProgramData folder, select the
RsoIntegration2009.xpo file and select the
Delete table and class members box. Make sure Import with ID values is
deselected.

- Click OK. Overwrite existing elements if you are updating an existing system.
-
Expand the
Shared node, right-click
RsoIntegration2009 and click
Compile.

-
Double-click the RsoIntegration2009 project to display the project content, right-click the
RsoIntegrationService service and select
.
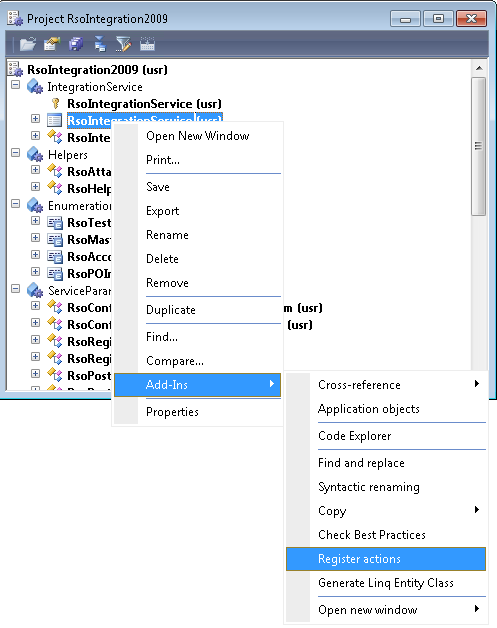
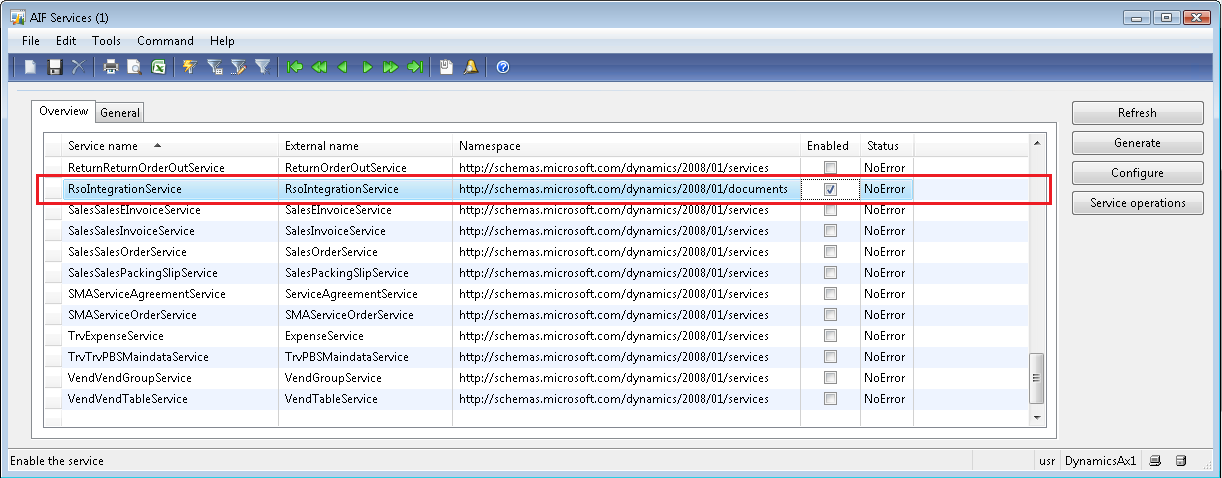
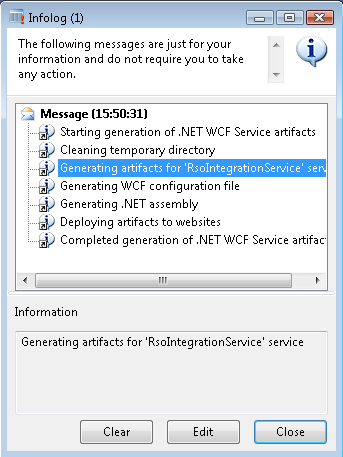
- To generate the service, navigate to and click the Refresh button. Then search for RsoIntegrationService in the list, select Enabled and click Generate.
This folder must be shared if it is not on the same computer as the AOS server. For more information, see Troubleshooting: Document management directory does not exist.
The integration user must have read/write access on this folder.
Specifying access rights for the ReadSoft Online integration
This section describes how to:
- Specify an integration group and user with limited access.
- Enable the integration user.
Specifying an integration group and user with limited access
- Import, compile and register actions for the ReadSoft Online integration for Dynamics AX (version 7.0 or newer).
-
Using Dynamics AX, navigate to
.

-
Click
New and add a new Group named
"Rso" with the User group name
"ReadSoft Online
Integration".
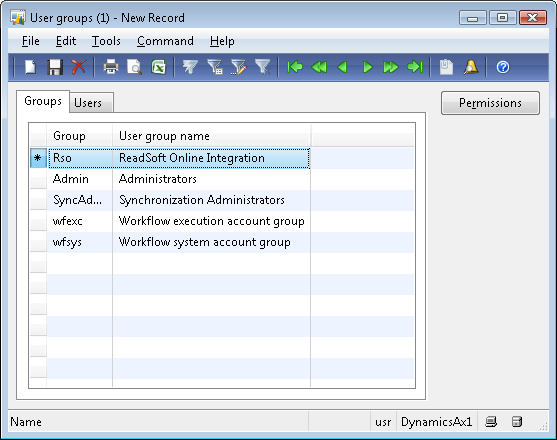
- Select the "Rso" group you just created and click Permissions.
-
In the dialog that appears, click the
Permissions tab and wait for the initialization.

-
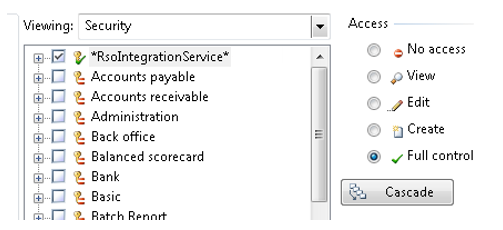
Select
RsoIntegrationService in the list and click
Full control.
-
Grant these additional rights:
Path Object Access Accounts payable/Tables Vendor bank accounts View Basic/Tables Employee View General ledger/Tables Journal lines Edit General ledger/Tables Ledger journal table View General ledger/Tables Ledger transactions View Inventory management/Tables Quality orders View Project/Tables Expense Edit Project/Tables Fee View Project/Tables Project stage rule settings View -
Close the dialog and navigate to
.

-
Create a new user with these settings:
Alias Active directory user account ID. Network domain Customer domain. User ID Any short user ID. We recommend using "RSO". User name Active directory user account ID. Company Default user company. Enabled This setting must be selected in order to enable the user. 
-
Click the
Groups tab and add the "Rso" user group that you created in step 2.

Enabling the integration user
To enable the user that you defined in Dynamics AX in the previous steps:
- Make sure that the user has read/write access to the folder that is specified in the Archive directory setting in Dynamics AX (Document management parameters dialog). If the Archive directory is located on a different computer than the AOS service, you must use a shared folder and to grant access to the user Windows account in the shared security. See troubleshooting for more information.
-
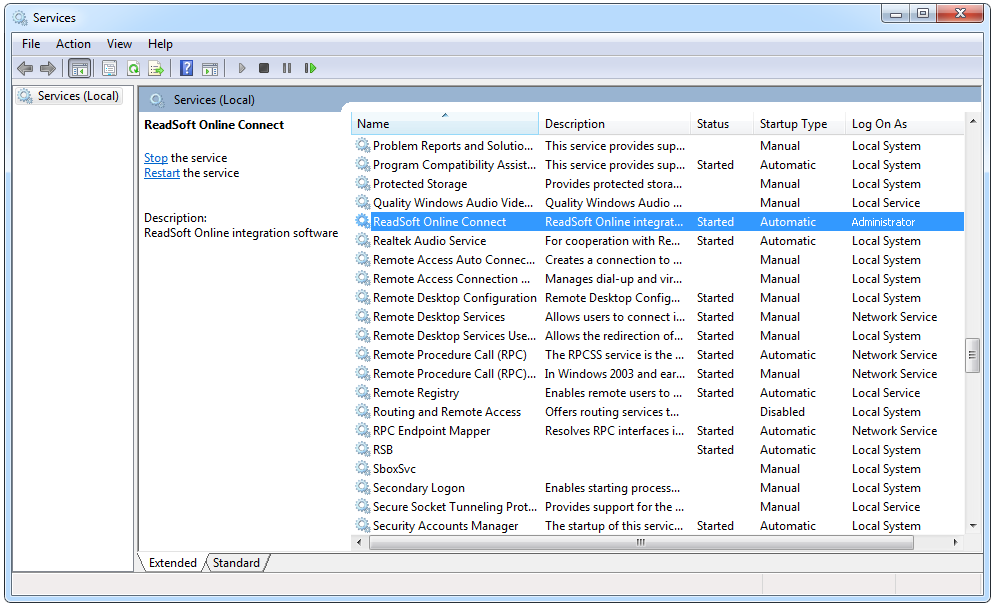
Open Windows services, right-click the
ReadSoft Online Connect
service and select
Properties.
-
Click the
Log On tab and specify the Windows user. Click
Apply to make your changes and then click
OK to close the dialog.
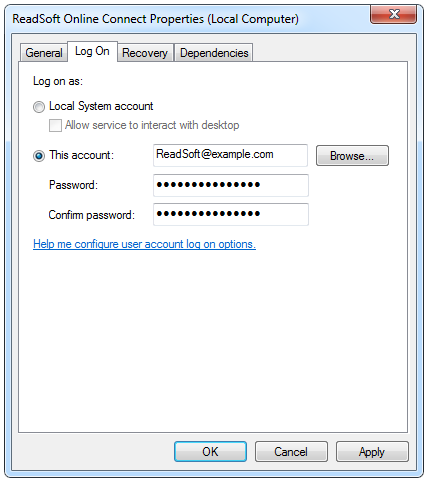
- Restart the ReadSoft Online Connect service.